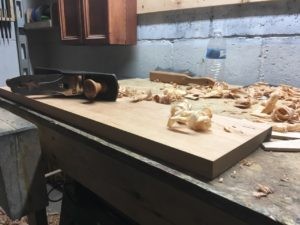
Why build one when you can build two!

After a quick detour this weekend to participate in the Turn for the Troops event held at Woodcraft stores, it was back to the garage to try to make some progress on the chess table.
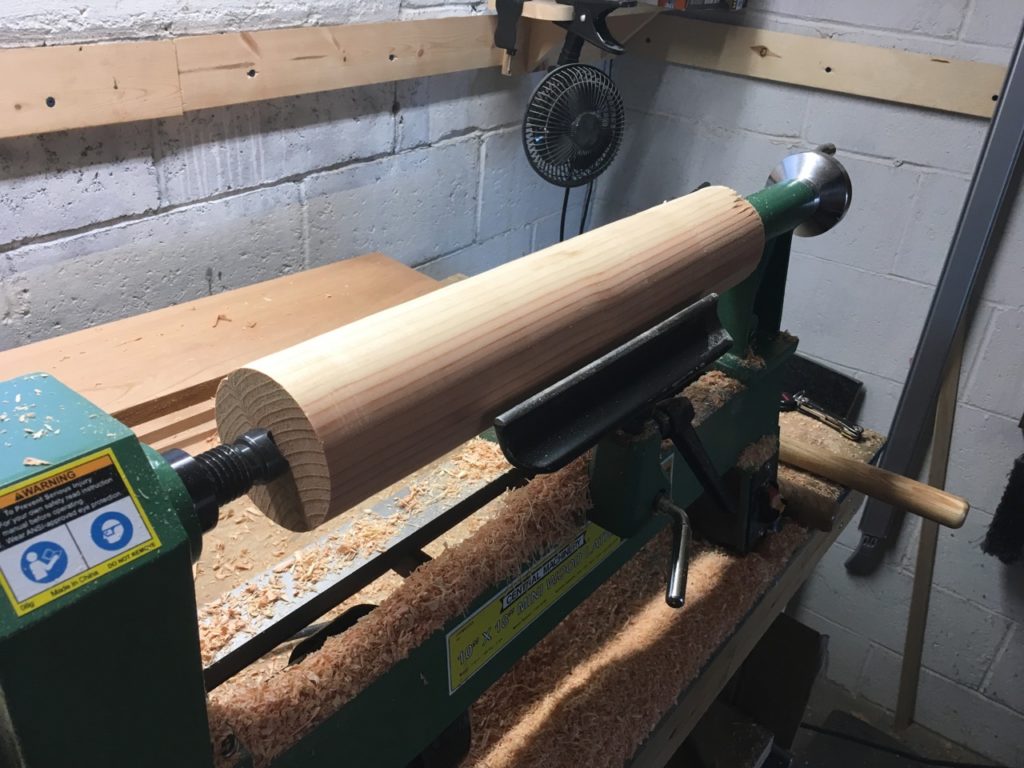
I started to turn the post for the chess table.  As planned, I decided to use some 4x4s leftover from building a cat tree about four years ago. The wood is good and dry, and more importantly, is the right size to work with.

Unfortunately, the grain was not with me and I had a lot of tear out.  After rounding the blank, I defined the recess for the legs, the tenon for the top, and the half bead that defines the top of the post.  The next step was to shape the stretched s-curve that is the main body of the post.

This is where I experienced significant tear out of the grain.  The wood wanted to splinter if I looked at it the wrong way.  Combine that with the substantial hardness difference between the early and late wood and I ended up with a bit of a ditch partway between the top of the legs and the bottom of the half bead.  This meant that the s-curve would either end up being much thinner than anticipated, or I would have to start over.

A thinner post would substantially change the look of the piece, so I decided to start over. In light of the problems turning the particular species, I decided to see about acquiring some hard wood.  I managed to secure some ash 3×3 blanks that I’ll be turning down for the finished table.

However, I still had a generally intact post that would be a shame to waste.  A quick browse through the wood pile revealed some red oak boards that have been hanging out for a few years.  These were just the right width for a  second set of legs.  I won’t be making this one into a chess table, but it will be good practice before working with the main project.  This will just be a traditional candle stand.
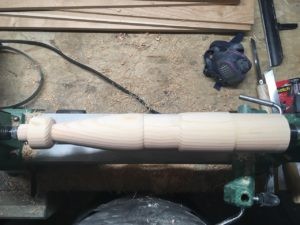
After cutting out the legs and putting them to the spindle sander, I returned to the problem post.  I turned half-beads at the top and bottom of the problem area to divide out the higher areas.  The bottom was then turned generally flat.  The top part was turned into shallow curve toward the tenon.  Finally, the problem area between the two was lowered and given a slight outward curve.

Three incised equally lines spaced incised lines were added to the center and burned with some maple.  I ended up with a generally nice shape for the second table post.  The burning is probably unnecessary as I think this will be painted when all is said and done. This was sanded to about 320 grit.  Sanding this wood leaves an interesting undulation as the soft early wood (the light grain) wears away faster than the late wood (dark grain).

I’ve already cut the oak legs out. The pattern I cut out using Pixelmator and some MDF is getting a workout. They just need a bit more shaping. Then comes the dovetailing. More later.
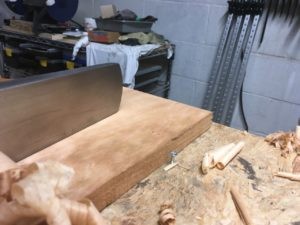
Processing Stock for the Chess Table

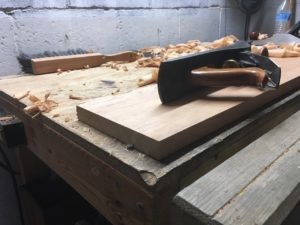
I spent today getting a bicep and tricep workout in the garage.  I had seven cherry boards to flatten, each about 7 inches wide and 36 inches long.  Several of the boards had substantial twist to them and all of them had some cupping and bowing.

Making this process even harder is the lack of a good workholding solution on my bench for working faces.  I settled on a 3-point plan of holding boards.  Two screws at the lefthand side of the bench and a notched batten at the back.  This seemed to work alright, though I broke the heads off of two screws over the course of my seven boards.

Next I need to sort the boards to decide what parts come from each board and run them through my thickness planer (!) to get to appropriate final sizes.

Shop Notes – 2017-10-20

Turning

I brought a fir 4×4 down to round this morning.  I need to sit and sketch out the pattern that I’d like for it, including taking measurements from the article I am working from to lay out for the top tenon and the bottom sliding dovetails.

The blank was roughed out with a 1″ spindle roughing gouge.  I then decided to get some practice with the skew chisel.  Taking a 1″ skew to it, I immediately had a catch and tear out.  I’m not too worried about it as I have at least a few more blanks worth of the fir that is nice and dry.  After resetting, I continued to use the skew and was able to get fantastic curly shavings.  While the round blank is clearly nowhere near a finished state, I found that the skew leaves a fantastic surface with minimal tearout.  I’m going to try to use it as the primary tool for this first turning to get more practice with the tool.

Workbench

I stopped at Rockler this afternoon and picked up a bed extension for my lathe.  It will give me the ability to turn 39 inches between centers when attached.  This will be great for making a campaign chair and stool in the future.  However, I have run into a bit of a problem.  While it gives 39 inches between centers, it needs a wider workbench to sit on.  That means that my current workbench (48 inches) is not going to cut it.

I initially thought that I would build a dedicated bench for the lathe (using a similar design to the saw bench I build a bit over a month ago).  However, I’ve been thinking of building a new workbench for some time and this is probably a great reason to build a new main bench.

As I work in a narrow one-car garage, a proper 8 foot bench is out of the picture. The garage is about 9 feet at its widest.  I’m considering a bench between 5 and 6 feet long (which would leave only 18 inches on either side if build to 6 feet) and 20 inches deep.  After working on a number of projects so far, I’ve found that my current depth of about 30 inches is unneeded.  The space at the back of the bench is just about never used for any operation.  It usually just collects tools and shavings or allows me to be lazy and not put the lathe away when not in use.

Shop Notes – 2017-10-14

I didn’t have a chance to spend much time in the shop today. What time I had was spent checking lumber stock and testing some of the auger bits that I have recently restored.

Testing bits

However, I was able to test an expansion bit and a no 13 Irwin auger bit with my brace after having cleaned them up a few days ago.  Both of those bits have rather large square tapers that barely fit into the chuck of the brace.  They cut nicely when I was finally able to chuck each of them up.  I’ll sharpen them when I have a bit of time.

Chess table project

I will need to make a trip to a lumber supplier for this table project.  I had a chance to look through the wood I have available.  I would like to make the top, drawer fronts, and legs out of maple.  Unfortunately, I do not have nearly enough of the ambrosia maple I had been saving for all of those parts. I think I have enough to do a three board glue up for the top only.

I have a fir 4×4 that I would like to use for the post.  It is leftover stock from building a cat tree about four years ago.  I already did a rough cut to 18 inches.  It’s nice and dry.  I’ll have to chuck it up tomorrow and see how it turns.

The following appears to be my cut list for the project:

Item Length Width Depth Number Wood
Top 20″ 18″ 3/4″ 1 Maple
Legs 9 1/2″ 10 3/4″ 3/4″ 3 Maple
Post 18″ 3 1/2″ 3 1/2″ 1 Fir
Center Cleat 16 1/4″ 2 3/4″ 1″ 1 Maple
Side Cleats 16 1/4″ 1 1/2″ 1″ 2 Maple
Draw Fronts 5″ 3 1/2″ 1/2″ 4 Maple
Drawer Sides 16 1/4″ 3 1/2″ 3/8″ 4 Maple
Drawer Runners 16 1/4″ 3/8″ 3/8″ 4 Maple

The original plans had called for using pine for the top and drawer sides. I may still do that. I’ve made the top thicker than indicated in the FWW article as I’ll be inlaying a chess board of 1/16″ veneer. The original had called for a 9/16″ top rather than a 3/4″ top. We’ll see how that progresses.